Hospitals joining ailix

1. Apply for an account

  1. Under “Applying as”, choose “Hospital”. Enter the hospital name, country, default language, time zone, full address and email.
  2. Read and agree to every required document, then select “Apply”.
  3. Complete registration from the email link and wait for approval.
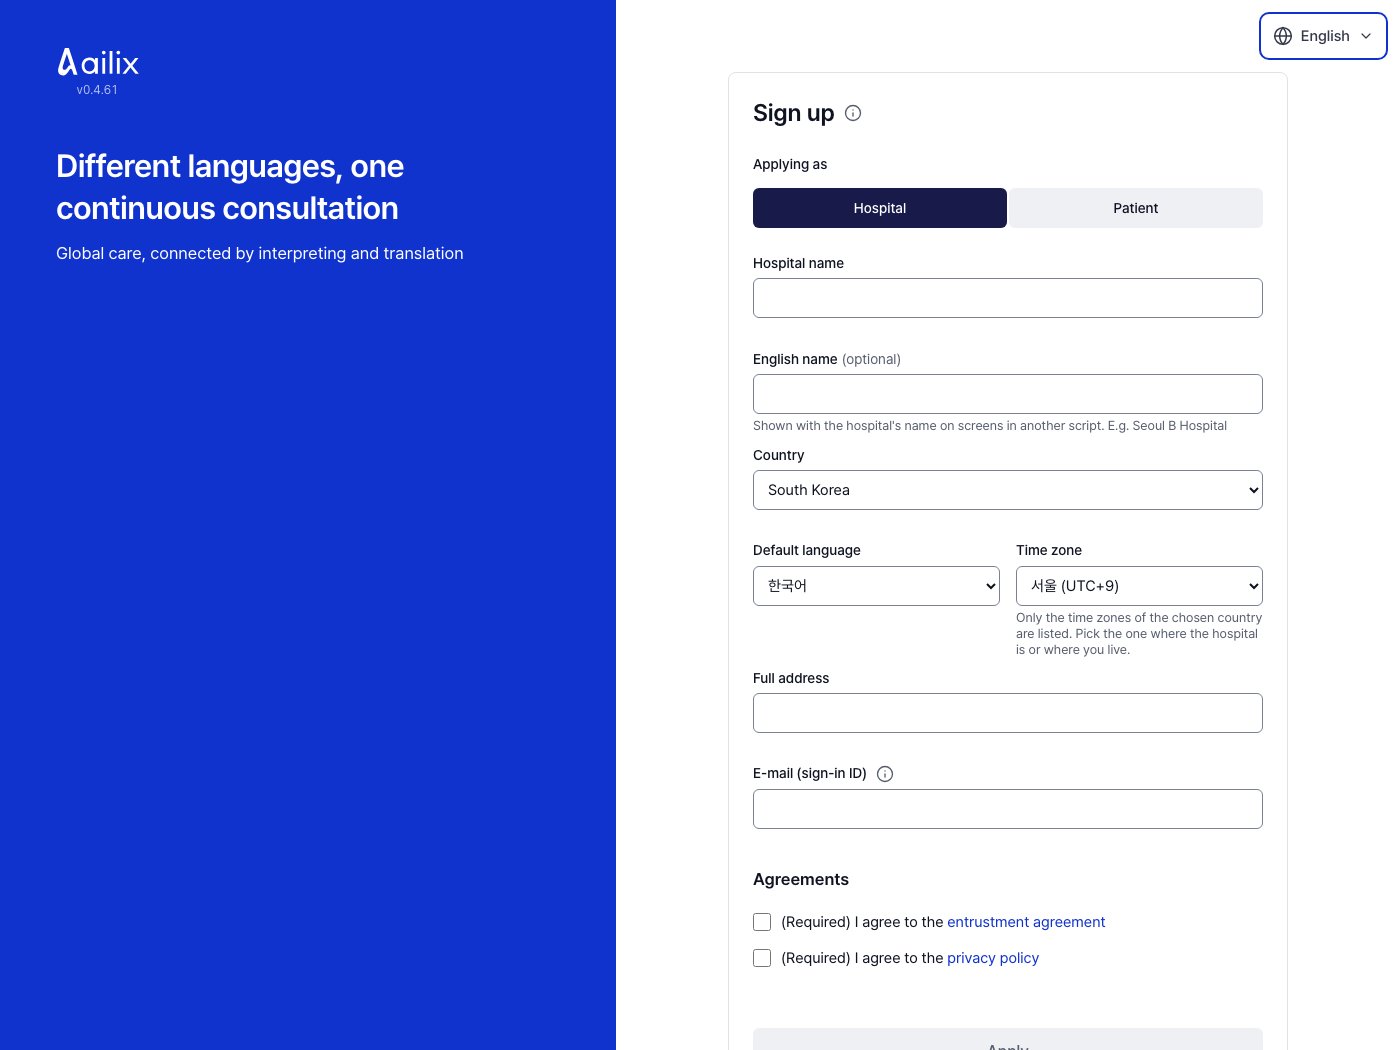
Apply for an account · Actual service screen · Sample data
Actual service screen · Sample data · v0.4.61Enlarge screenshotBack to the guide
Invited staff and clinicians

2. Log in

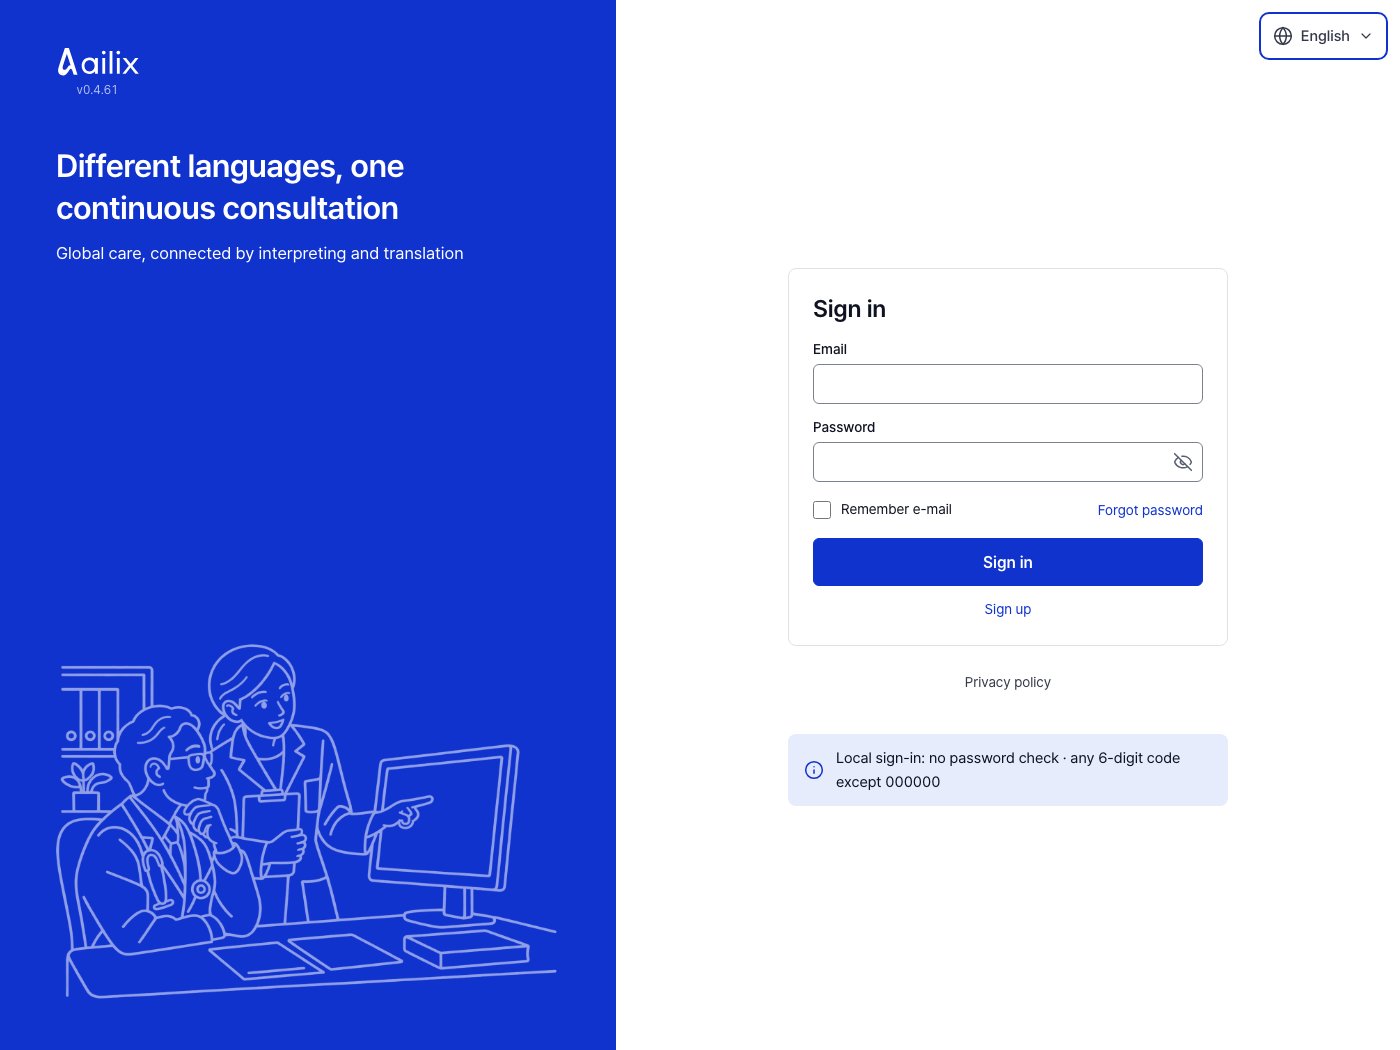
  1. Enter the email and password you received.
  2. On your first login, set a password and register an authenticator app.
  3. Enter the app’s 6-digit code.
Log in · Actual service screen · Sample data
Actual service screen · Sample data · v0.4.61Enlarge screenshotBack to the guide
Hospital staff and clinicians

3. Check what needs attention

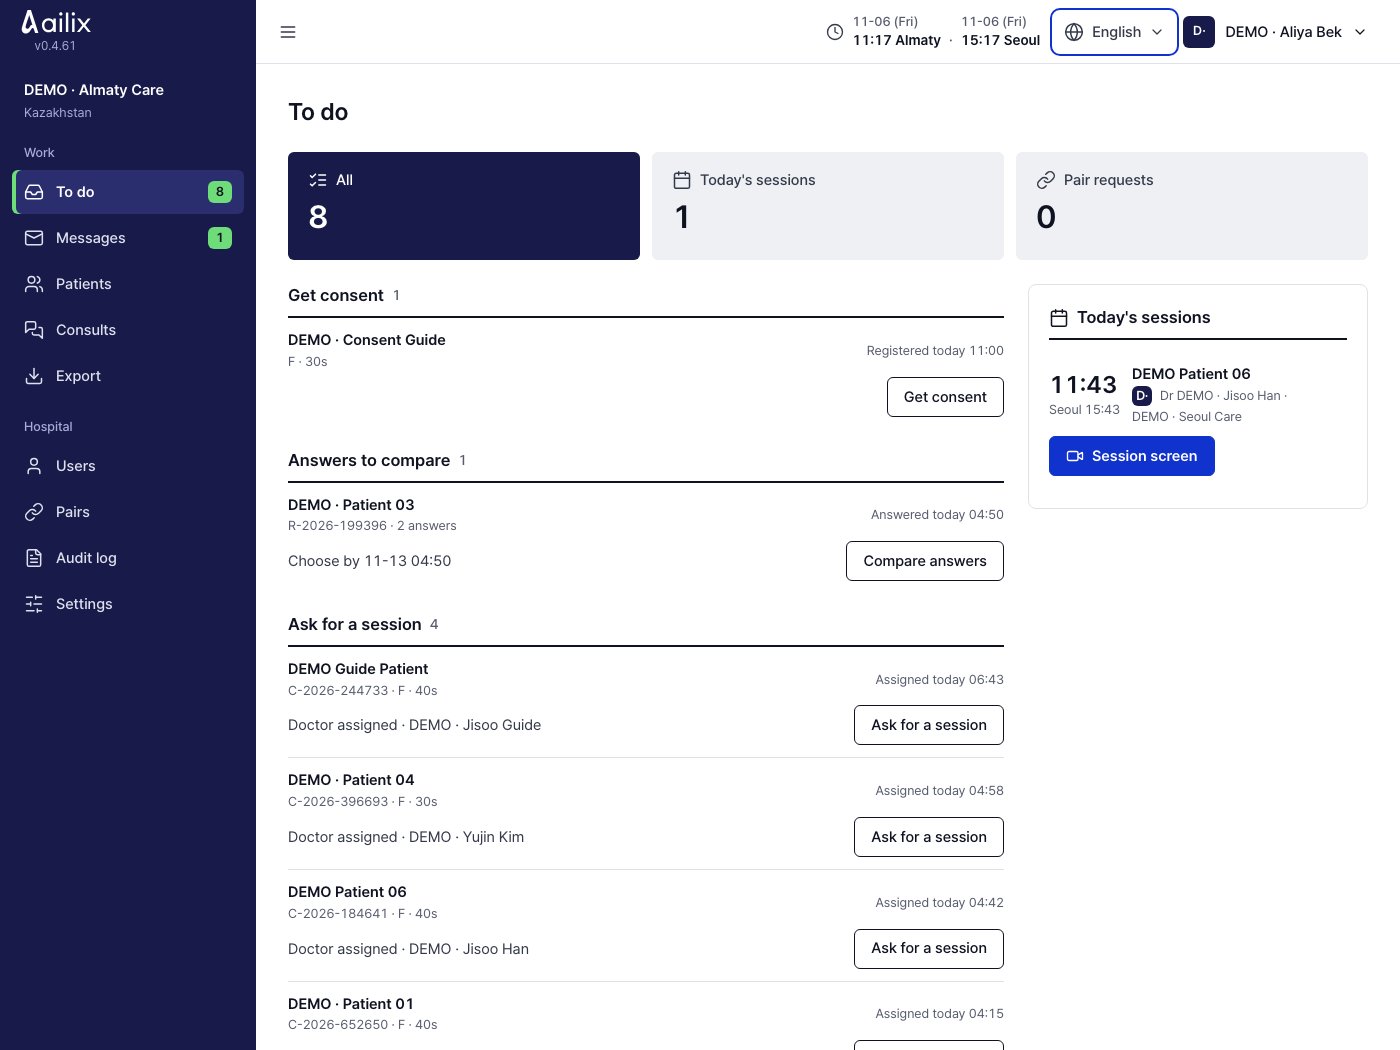
  1. Open work you can do now in “To do”.
  2. Work that is not your turn yet is under “Waiting” below.
Check what needs attention · Actual service screen · Sample data
Actual service screen · Sample data · v0.4.61Enlarge screenshotBack to the guide
Referring hospital staff

4. Register a patient

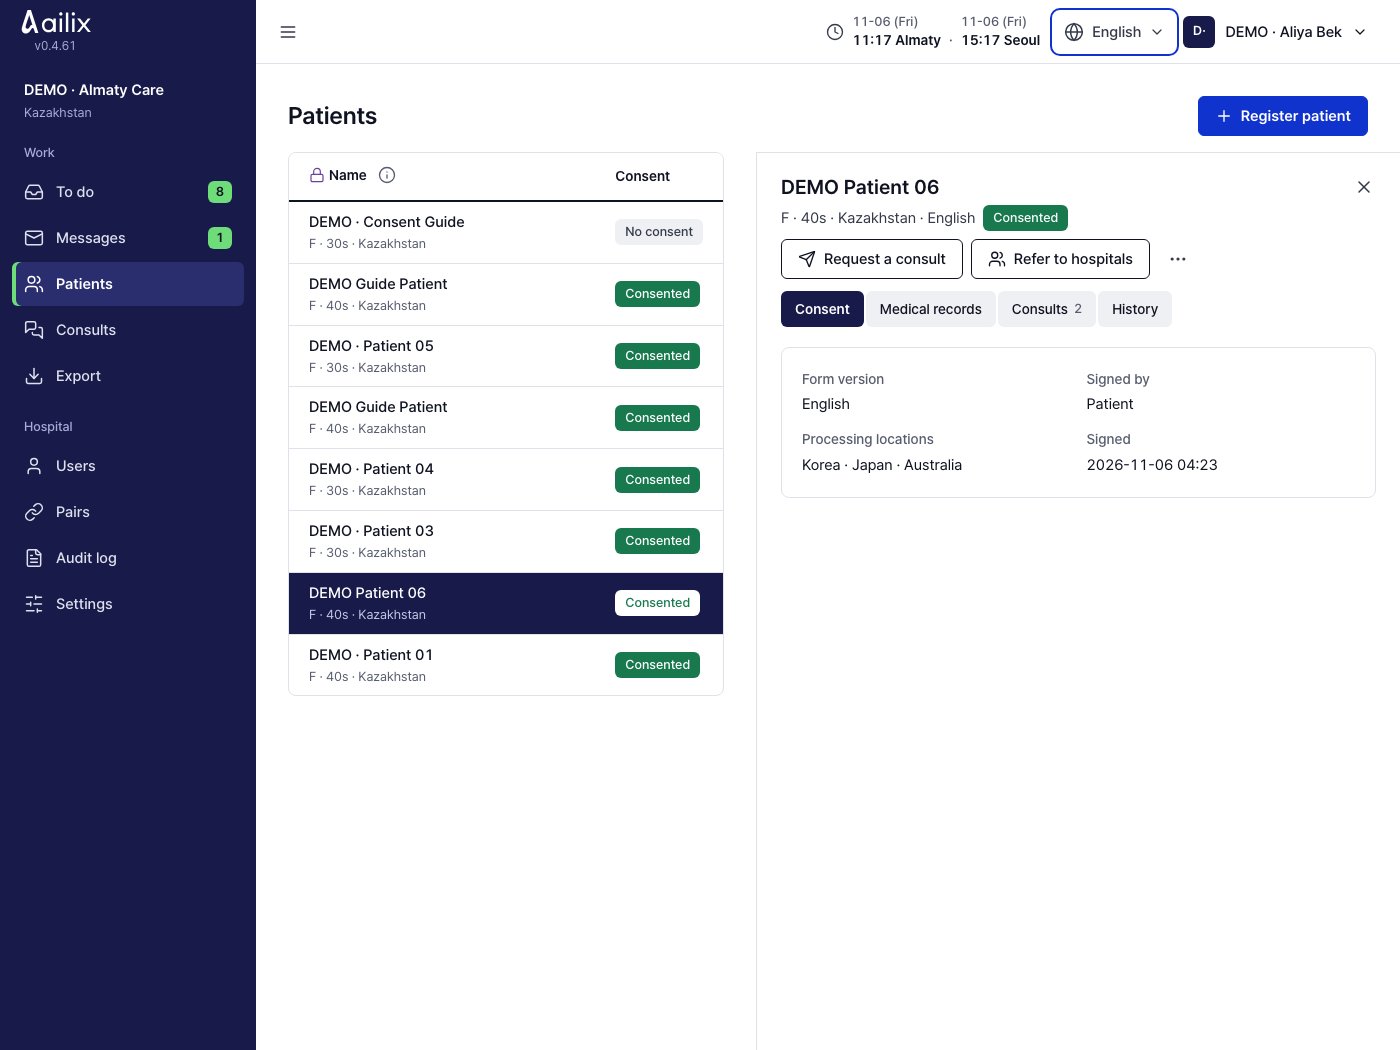
  1. In Patients, select “Register patient”.
  2. Enter the patient details, then select “Register”.
  3. Prepare the patient’s consent and the required records.
Register a patient · Actual service screen · Sample data
Actual service screen · Sample data · v0.4.61Enlarge screenshotBack to the guide
Hospital staff and clinicians

5. Review medical records

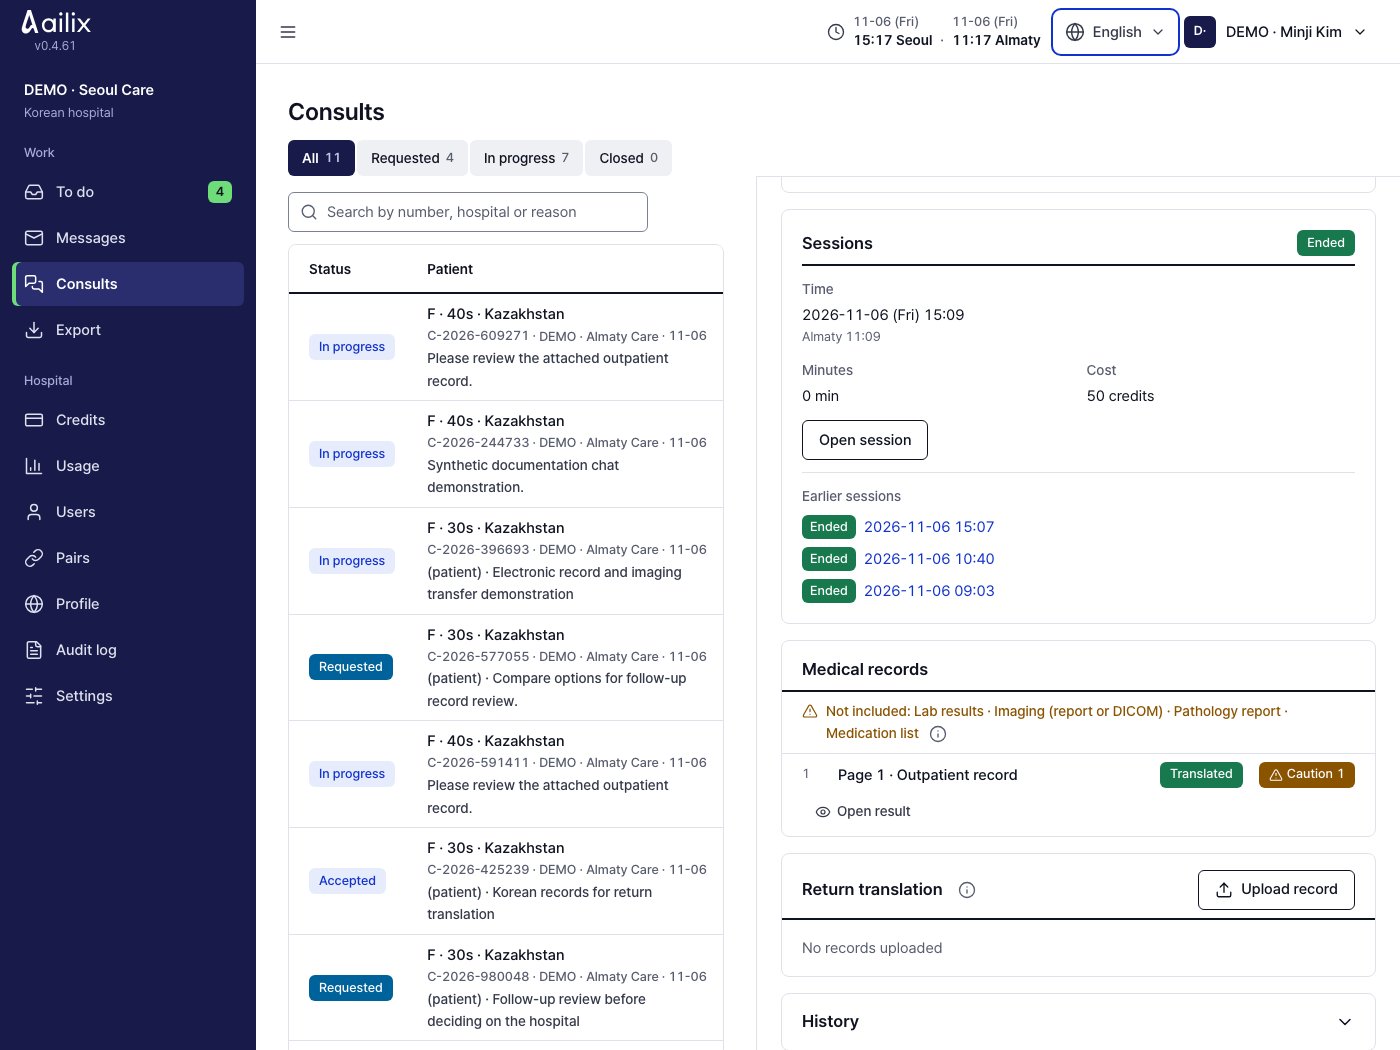
  1. Open the medical records within the consultation.
  2. Check that each page shows “Translated”, then read the translation.
  3. Review flagged pages alongside the original. When a page is checked, the assigned Korean doctor selects “Mark as reviewed”.
Review medical records · Actual service screen · Sample data
Actual service screen · Sample data · v0.4.61Enlarge screenshotBack to the guide
Hospital staff

6. Check the consultation and time

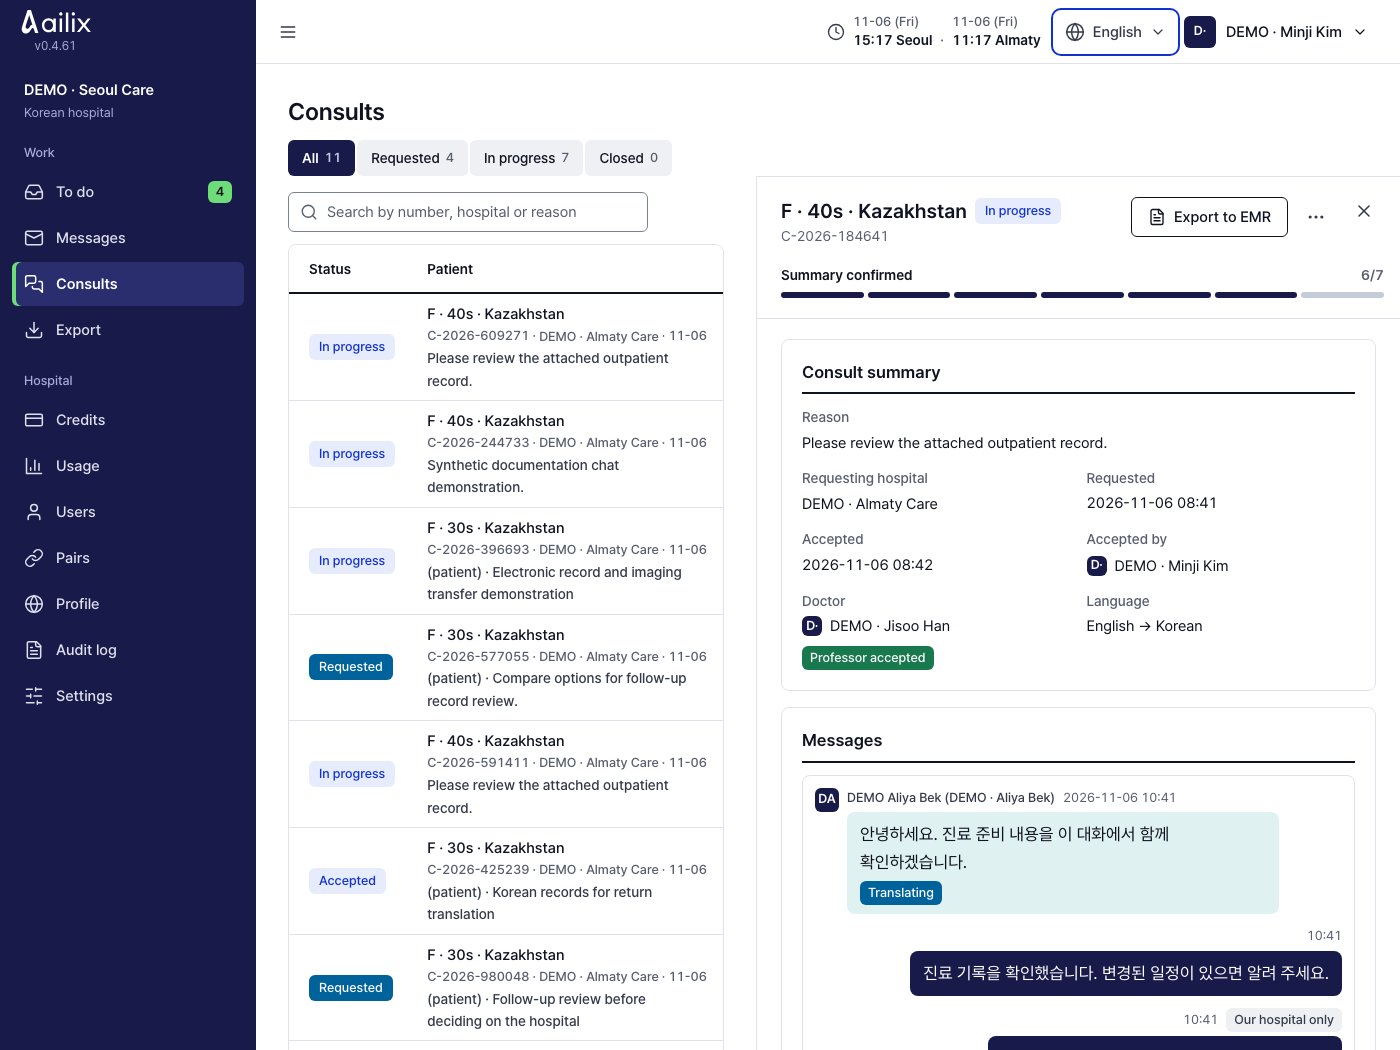
  1. Open the patient’s consultation from Consults.
  2. Check the assigned doctor and request status.
  3. Request or confirm the session time in the consultation.
Check the consultation and time · Actual service screen · Sample data
Actual service screen · Sample data · v0.4.61Enlarge screenshotBack to the guide
Session participants

7. Enter the session

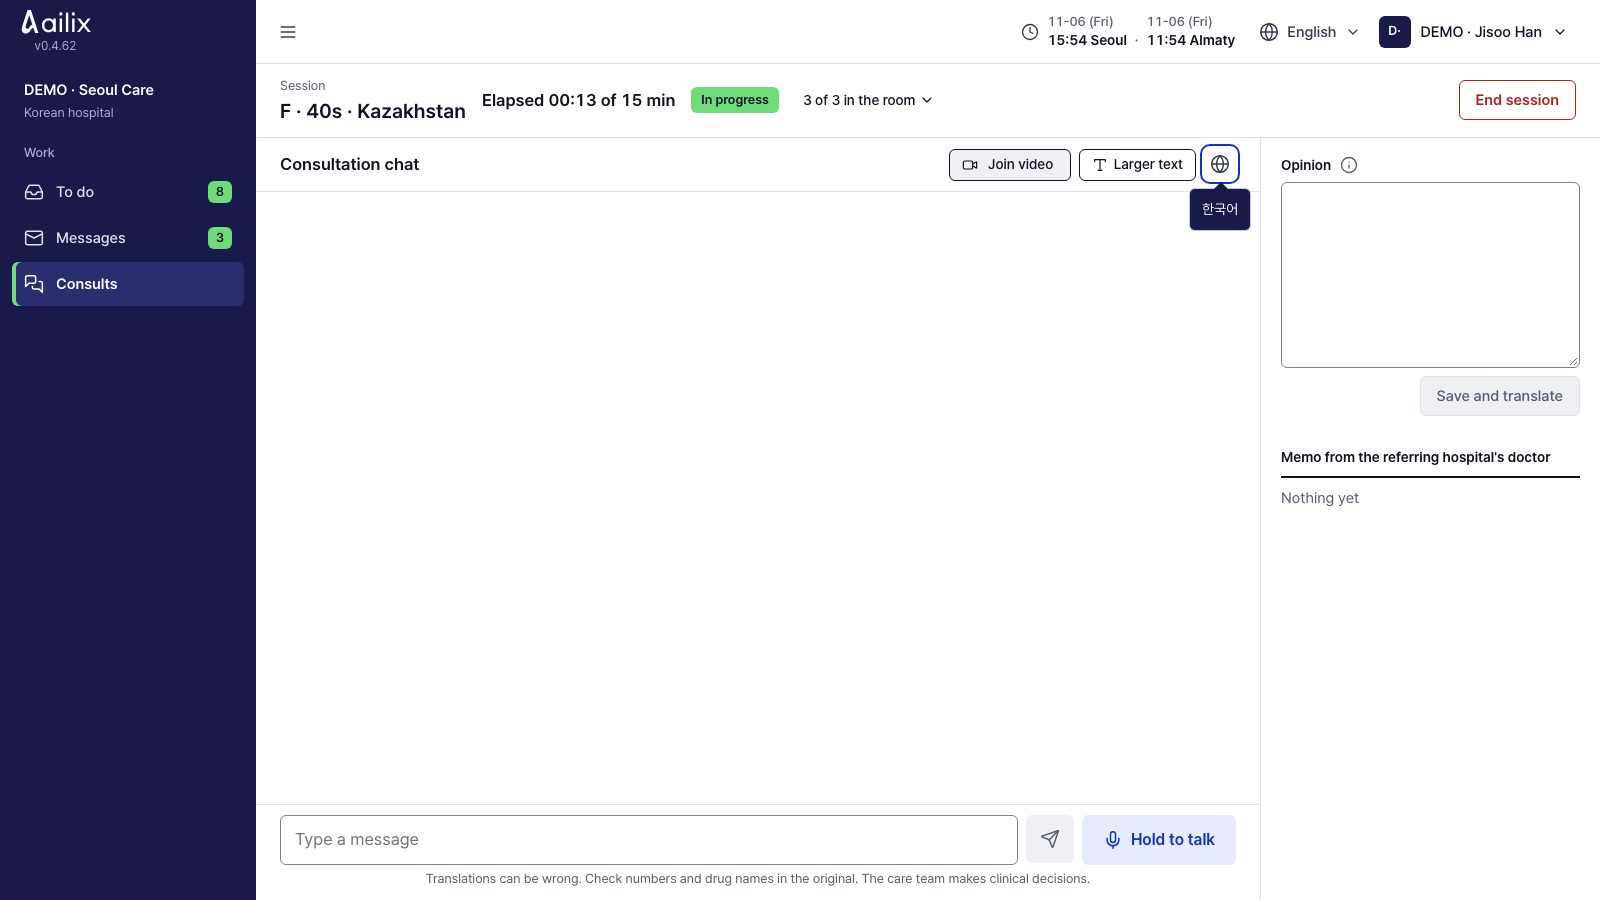
  1. Open “Session screen” for the confirmed session.
  2. Allow the camera and microphone when joining video.
  3. During video, what you say is interpreted automatically. Outside video, type a message or press and hold “Hold to talk”.
Enter the session · Actual service screen · Sample data
Actual service screen · Sample data · v0.4.61Enlarge screenshotBack to the guide
Patients who register directly

8. Prepare your records and session

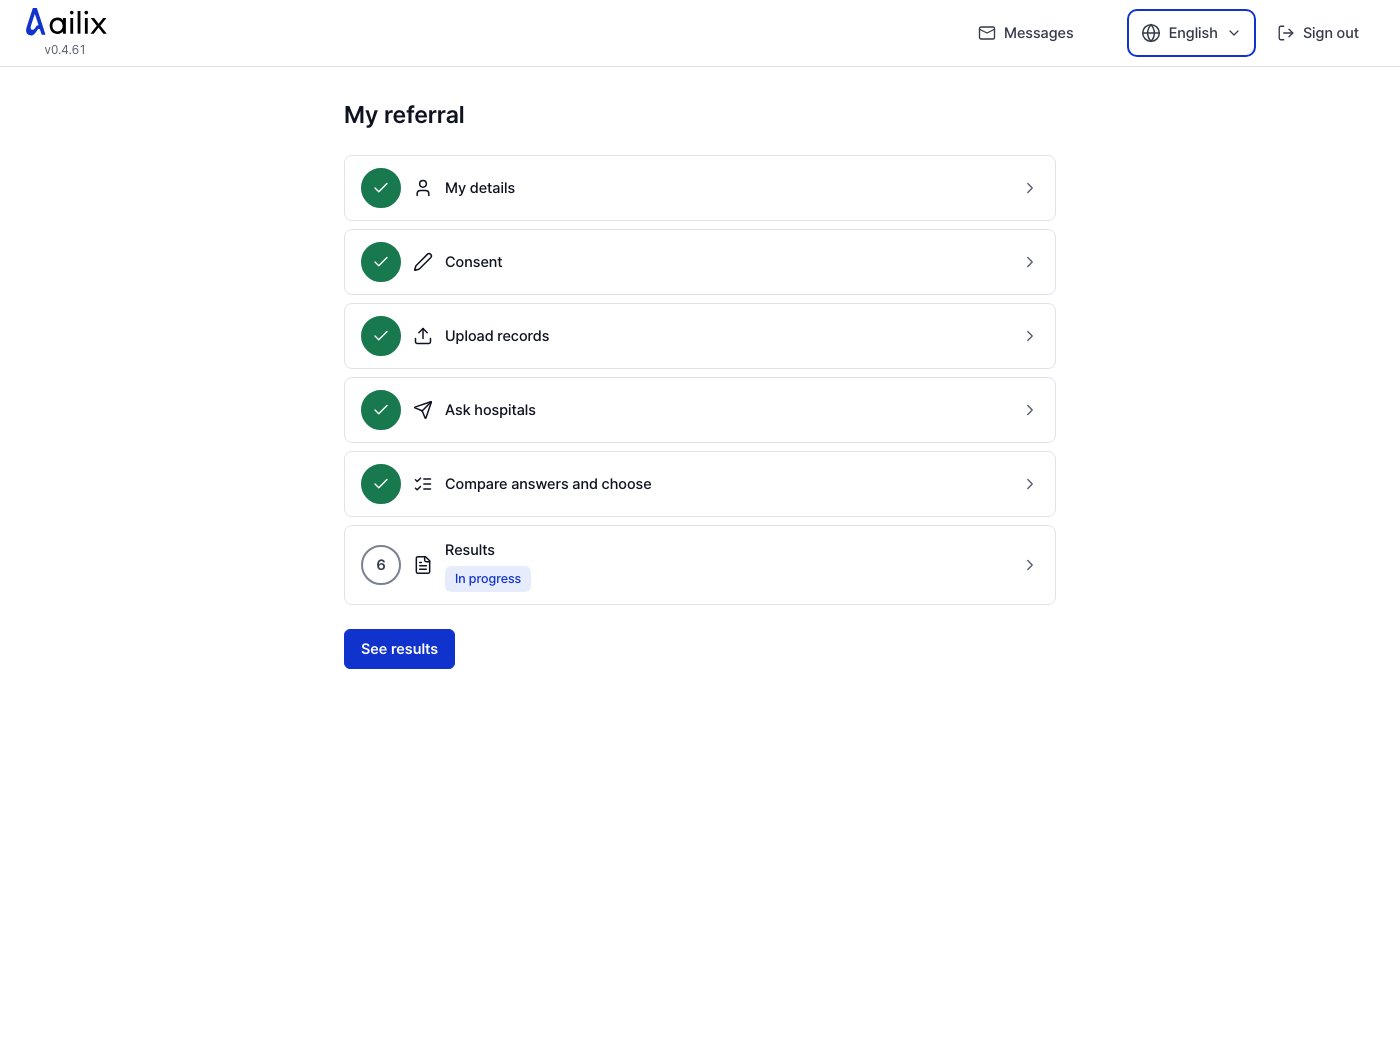
  1. Register while intake is open, then log in to your own account.
  2. In “My referral”, enter your details, give consent and upload your records.
  3. Use “Ask hospitals” to choose hospitals. Compare the answers, choose one, and select “Join the chat” at the time that hospital gives you.
Prepare your records and session · Actual service screen · Sample data
Actual service screen · Sample data · v0.4.61Enlarge screenshotBack to the guide
Signed-in users

9. Set up your screen

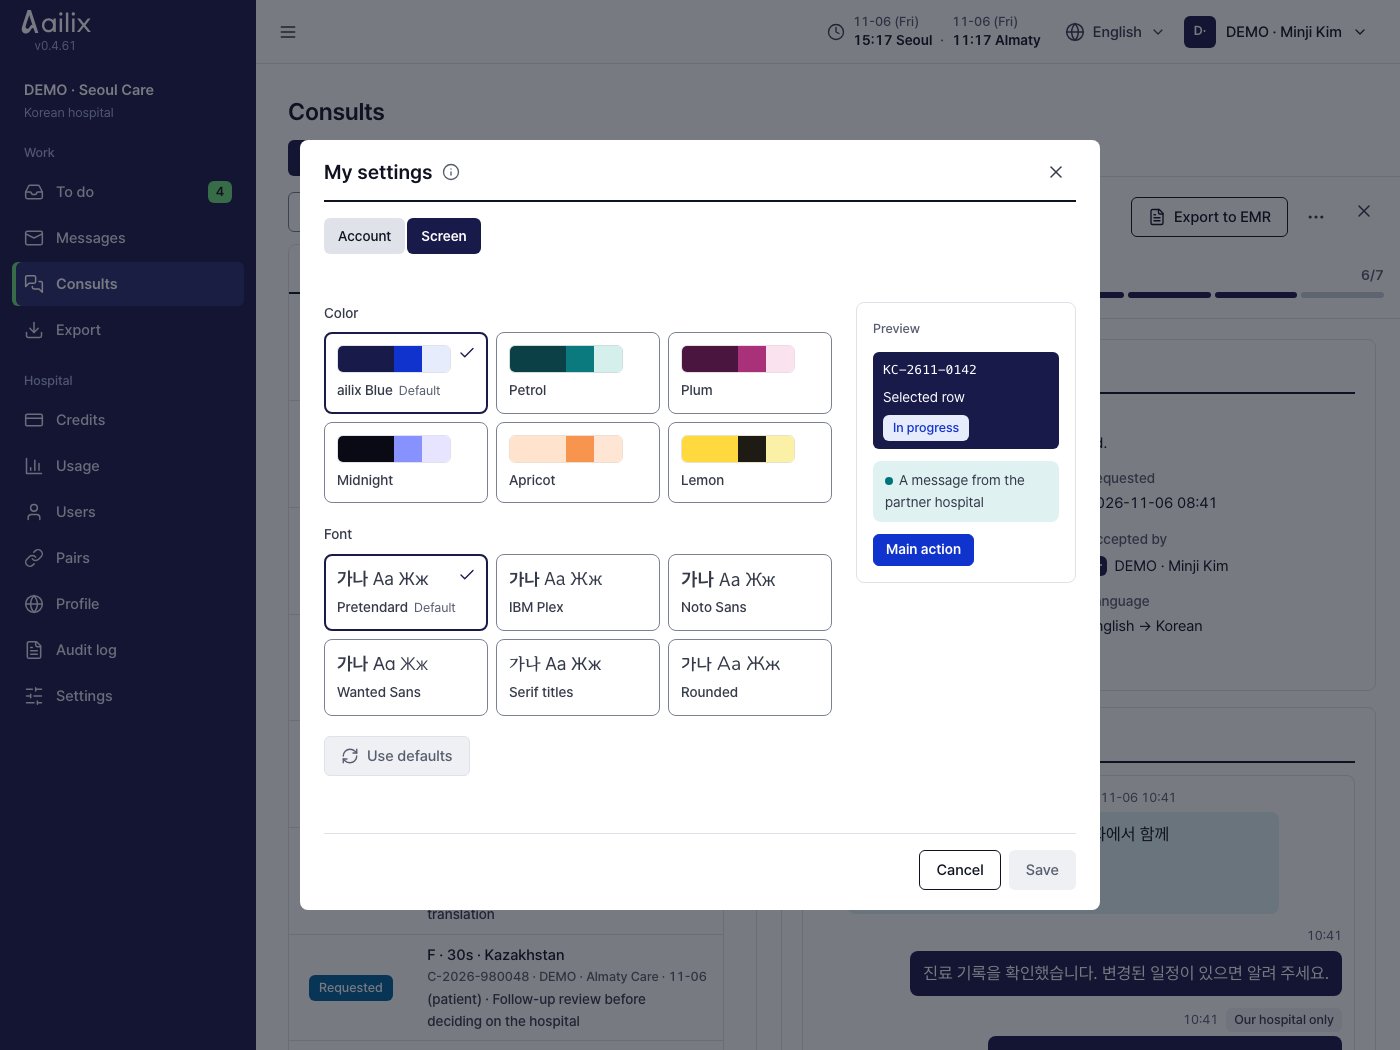
  1. Open My settings from the user menu at the top right.
  2. Choose a color and font in Screen.
  3. Manage your password and authenticator app in Security.
Set up your screen · Actual service screen · Sample data
Actual service screen · Sample data · v0.4.61Enlarge screenshotBack to the guide